
If you have a bath or shower that required caulking, chances are that caulk has seen better days. It's soft, so abrasive cleaners wear away at it. This may cause gaps or ragged holes that trap residue. And even if it's all in one piece, mildew and grime will likely stain it over time.
But beyond the cosmetics, if your caulk is old and porous, it could be letting water behind the tub or shower. This leads to warping of the outer liner and even severe water damage that could go unnoticed for years. The wall or floor could be rotting beneath the surface as we speak.
So if your caulk doesn't look its best, or it's been five or more years since you replaced it, the time is now to remove that old caulk and lay down new.
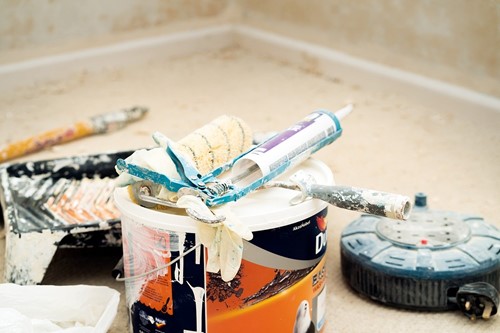
For this project, you need:
If you try to remove caulk without softening it first, it will not come off cleanly. You'll end up doing a lot of extra work. So before you begin, open a window or make sure the room is well-ventilated. Put on your gloves. And then follow the product's instructions for application. It will vary.
Carefully use your utility knife to cut the caulk. On a good day, the caulk will come off clean at this point. But even with caulk softener, you may have places where it does not. This is especially true if someone tried to re-caulk in the past without completely removing the old stuff.
If this happens, you'll need some needle nose pliers and a little patience to pull off the stubborn pieces. Now, rake the remained caulk away with a putty knife.
Clean the edges, removing any mildew or scum with your ammonia-free tub cleaning solution. Then go over the area with a 1/3-cup to one-gallon bleach solution. Use a paintbrush to work the solution into the crevices. Rinse and then dry the surface thoroughly with your rag.
And, in case you're wondering, ammonia and chlorine don't mix and could be deadly. So please check those labels.
Here's the easy part. Use the caulk gun to create an even stream of caulk where you removed the old caulk. Wait at least 24 hours before running water into the tub or shower.
And that's it. Doesn't your shower look great? For more quick projects you can do yourself to spruce up your home, follow our blog.
